To secure gym equipment without damaging your home’s concrete, start by choosing the right fasteners and screw sizes, ensuring they’re one inch longer than the material you’re fastening. Use a hammer drill with masonry bits, and begin with a smaller pilot hole to minimize the risk of cracking. Apply steady pressure at lower speeds for precision. Always clean debris from the pilot holes and consider using a backing board for added support. By following proper techniques and using the right tools, you can install your equipment safely while maintaining the integrity of your space. There’s plenty more to explore for creating the perfect home gym!
Key Takeaways
- Use a hammer drill or rotary hammer with masonry bits to effectively penetrate concrete surfaces when installing home gym equipment, minimizing the risk of cracking.
- Begin with a smaller pilot hole to reduce the likelihood of damage before drilling the final size for your anchors.
- Apply steady pressure at lower speeds to enhance accuracy and control, which helps prevent overheating and cracking during installation.
- Consider using a backing board to support the wall, ensuring that screws are flush with the surface to avoid overdriving, which can compromise the integrity of your setup.
- Regularly clear debris from pilot holes and monitor depth to ensure secure anchoring, promoting stability for your home gym equipment and enhancing your workout experience.
Understanding Concrete Fasteners and Selecting Fasteners
When setting up your home gym, selecting the right fasteners for securing your equipment to concrete surfaces is crucial for ensuring safety and stability during your workouts.
Concrete fasteners, such as screws and bolts, are designed with alternating threads that provide a strong grip on hard surfaces, making them ideal for mounting gym equipment. Always use pilot holes unless the fastener is specifically designed for direct installation; this helps prevent cracking in the concrete.
Ensure that the fasteners fit snugly against the concrete to reduce movement, which is vital for maintaining the integrity of your gym setup. For outdoor workout areas, opt for corrosion-resistant materials to withstand the elements.
Lastly, determine the appropriate screw length by adding the total thickness of the equipment being mounted plus at least one inch for sufficient embedment into the concrete. This attention to detail will help create a safe and effective home gym environment.
Choosing the Right Screw Length and Sizes
When selecting the right screw length and size for securing home gym equipment, it’s essential to consider both the thickness of the material and the required embedment depth for stability.
For a secure hold, screws should typically be at least one inch longer than the material you’re fastening, while also allowing for any debris that may be in the hole.
Common sizes like 3/16-inch and 1/4-inch are versatile and suitable for various light, medium, and heavy-duty applications, making it beneficial to have both sizes on hand for your gym setup.
Ensuring a solid installation will help maintain the safety and integrity of your home workout space.
Determining Screw Lengths
Choosing the right screw length and size is essential for securely anchoring home gym equipment, especially since inadequate lengths can compromise safety and stability during workouts.
Here’s how to determine the appropriate screw lengths:
- Calculate Total Length: Add the thickness of the equipment to an additional inch for secure anchoring to ensure it can withstand vigorous movements.
- Consider Material Density: Use one-inch embedment for hard surfaces; softer materials may require longer screws for optimal support.
- Pilot Holes: Ensure your pilot holes are at least 1/4-inch deeper than the screw penetration to allow for proper anchorage and prevent any risk of equipment failure.
Using the correct masonry bits and drill bit will also enhance your installation process and ensure a safer home gym environment.
Common Screw Sizes
Selecting the right screw size is essential for achieving a secure and stable installation when assembling your home gym equipment.
Common screw sizes for fastening gym equipment typically range from 3/16 inch for light- to medium-duty tasks, like securing a wall-mounted pull-up bar, to 1/4 inch for heavy-duty applications, such as anchoring a squat rack.
To determine the minimum screw length, add the thickness of the material being fastened plus one inch for adequate grip. For hard, dense materials, like metal frames, a one-inch embedment is usually sufficient, while softer materials, such as wood, may need longer screws.
Always choose corrosion-resistant screws for outdoor installations to maintain the integrity of your fasteners, ensuring your gym equipment remains safe and sturdy during workouts.
Embedment Depth Requirements
Understanding the importance of secure anchoring when setting up home gym equipment is essential for safety and performance.
When selecting screws for anchoring in concrete, consider the following factors:
- The thickness of the equipment or material being fastened.
- An additional one inch for adequate embedment depth to ensure stability during workouts.
- Ensure that holes are at least 1/4 inch deeper than the screw penetration for a secure fit.
For harder concrete surfaces, a one-inch embedment is generally sufficient, while softer materials may require longer screws for added support.
Always opt for corrosion-resistant anchors, especially for outdoor gym setups, to ensure long-lasting durability.
Choosing the correct screw size is crucial for effective anchoring, helping you create a safe and reliable home gym environment.
Drilling Techniques and Using the Right Drill
To successfully install anchors for home gym equipment in concrete without causing cracks, it’s important to select the right tools and techniques.
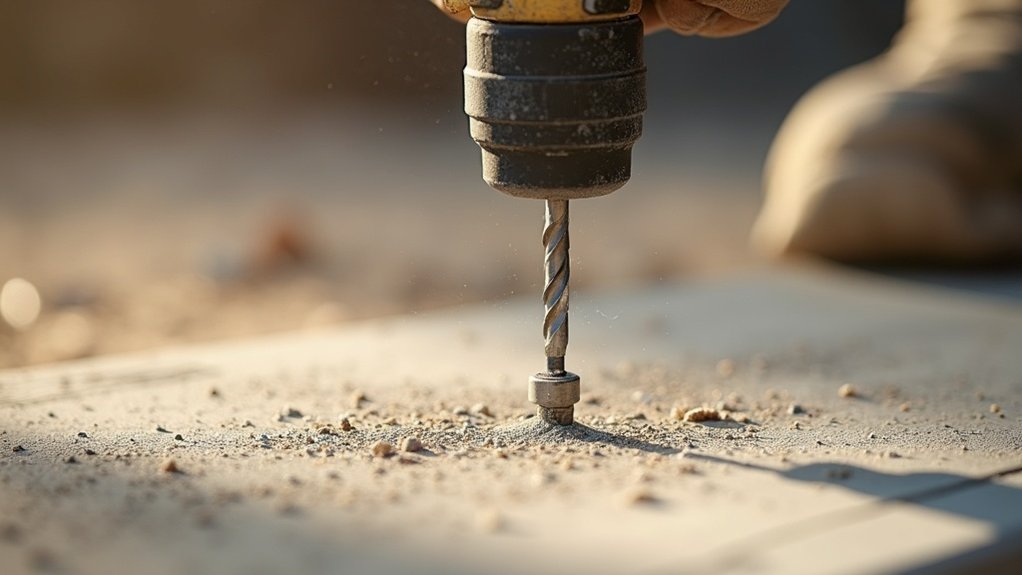
Opt for a hammer drill or rotary hammer that can handle the necessary force, and begin with a smaller pilot hole to guide larger bits, minimizing the risk of damaging the concrete.
Utilizing sharp masonry bits and maintaining a steady pressure at lower speeds will improve accuracy and ensure both your equipment and the concrete remain intact.
Selecting Appropriate Drill Type
Choosing the right drill type is essential for successfully anchoring gym equipment into concrete without causing cracks. Use the following guidelines to guarantee effective drilling:
- Opt for a hammer drill or rotary hammer; they deliver the power and hammering action necessary to penetrate hard surfaces, ensuring your equipment is securely anchored.
- Select masonry bits specifically designed for concrete applications, as general-purpose bits can lead to damage, which could compromise your home gym setup.
- Start with a smaller pilot hole (5mm or 6mm) to ease the process and minimize cracking risk, allowing for a smoother installation of your fitness equipment.
Effective Drilling Techniques
While setting up your home gym, employing effective techniques for installing equipment is essential to prevent damage to your walls and guarantee a secure setup.
Start with a hammer drill set to the lowest speed to minimize stress on the surface. Creating a small pilot hole first enhances accuracy and reduces the risk of damaging your walls.
As you near the end of the drilling process, adopt a gentle approach to prevent any breakout. Using a backing board can support the wall during installation, helping to control any potential cracking.
Always ensure your drill bit is sharp and suitable for the material you’re working with to maintain efficiency and avoid overheating, ensuring a clean and precise finish for your home gym setup.
Troubleshooting Common Issues
When you encounter issues while installing gym equipment anchors in concrete, it’s crucial to identify and resolve specific problems to ensure a secure setup. Here are common troubleshooting steps:
- If screws won’t drive fully, check the hole depth and clear out any debris to ensure a clean installation.
- When screws spin without gripping, consider switching to longer screws or specialized concrete anchors for enhanced stability.
- If original holes are stripped, relocate screws and drill new pilot holes to maintain the integrity of your gym setup.
Always inspect pilot holes for cleanliness and size, as debris can hinder proper anchoring and compromise the hold of your equipment.
Additionally, monitor drill bit temperature to prevent overheating during prolonged use, ensuring your home gym remains safe and secure.
Proper Driving Techniques
To ensure effective installation of gym equipment anchors in concrete, mastering proper driving techniques is crucial for a home gym setup. Maintain firm hand pressure and a steady speed while drilling to achieve consistent penetration and minimize the risk of cracking. Apply adequate downward pressure to prevent slipping off the screw heads, ensuring a secure fit for your equipment. Stop drilling once the screws are flush with the surface to avoid overdriving and damaging the concrete. As you approach the surface, ease off the drill speed to maintain control and reduce chances of breakout. Regularly monitor the drill bit temperature, as overheating can compromise its integrity and affect the installation quality.
| Technique | Importance | Emotional Impact |
|---|---|---|
| Steady Pressure | Ensures even drilling | Confidence in results |
| Adequate Downward | Prevents slipping | Satisfaction in control |
| Controlled Speed | Reduces cracking | Peace of mind |
| Timely Stopping | Avoids damage | Pride in craftsmanship |
| Temperature Checks | Maintains bit integrity | Assurance in quality work |
Additional Tools and Accessories
Several essential tools and accessories can greatly enhance your home gym setup and installation process for equipment. Consider these items:
- Installation Kits: Use kits that include replaceable drill bits and drivers for easy adjustments, improving the efficiency of your gym setup.
- Depth Gauges: Attach gauges or stop collars to drill bits to maintain consistent hole depth when installing equipment, helping to prevent damage to your walls or floors.
- Dedicated Drills: Keep one drill for masonry bits and another for driving screws, allowing for smooth transitions between setting up your gym and adjusting your equipment.
These tools will help you achieve a secure and effective home gym installation while minimizing potential damage to your living space.
Handling Oversized Pilot Holes and Post-Drilling Procedures
If you find yourself dealing with oversized pilot holes while installing home gym equipment, it’s essential to take immediate steps to ensure a secure setup. Consider using a sleeve anchor, particularly if the hole is too large for standard screws. Here’s a quick guide to help you:
| Action | Description |
|---|---|
| Inspect | Check for cleanliness and size of the hole. |
| Widening | Slightly enlarge the hole to accommodate sleeve anchors. |
| Relocate | Move the hole if the positioning of the fastener allows. |
| Pack with Epoxy | Use epoxy cement for severely damaged holes. |
| Install Fasteners | Confirm stability and effectiveness for secure equipment. |
Taking these steps will enhance the performance and safety of your home gym setup, ensuring you can focus on your fitness goals with confidence.
Preparing the Work Area and Expert Insights
Preparing Your Home Gym Area for a Successful Workout
Creating a safe and efficient home gym environment is essential for maximizing your workout experience. Follow these expert insights to prepare your workout space:
- Clear clutter from your gym area to maintain focus and minimize the risk of injury.
- Designate specific spots for your gym equipment, ensuring everything is organized for easy access and to prevent accidents.
- Secure heavy equipment properly to avoid movement during workouts, providing a stable environment for effective exercises.
Always prioritize safety by wearing appropriate workout gear and ensuring your space is well-ventilated.
Also, make sure your equipment is suitable for your fitness goals to enhance performance and reduce the risk of injury.


