To find studs behind drywall accurately for mounting your home gym equipment, start by measuring 16 inches from a corner or outlet, as this is standard stud spacing. Knock on the wall; a dull thud indicates a stud and provides a reliable anchor for heavy items like pull-up bars or wall-mounted racks. You can also use a magnet to locate metal fasteners, which can help ensure that your equipment is securely attached. If you’re using a metal detector, adjust the sensitivity to avoid false positives, especially in areas with electrical wiring. Always create small exploratory holes to minimize wall damage when confirming stud placement. With these techniques, you can confidently identify studs, ensuring a safe and sturdy setup for your home gym. Stay tuned for more tips on optimizing your workout space!
Key Takeaways
- Measure approximately 16 inches from a corner or electrical outlet to estimate where the studs might be, as they are generally spaced this way, which can be useful when planning for home gym equipment installation.
- Tap the wall with your knuckles and listen for sound differences; a dull thud indicates a stud, while a hollow sound suggests empty space, helping you to identify where to securely mount gym equipment.
- Use a high-powered magnet to detect metal fasteners; move it slowly across the wall to find hidden studs without causing damage, ensuring that your home gym setup is stable and secure.
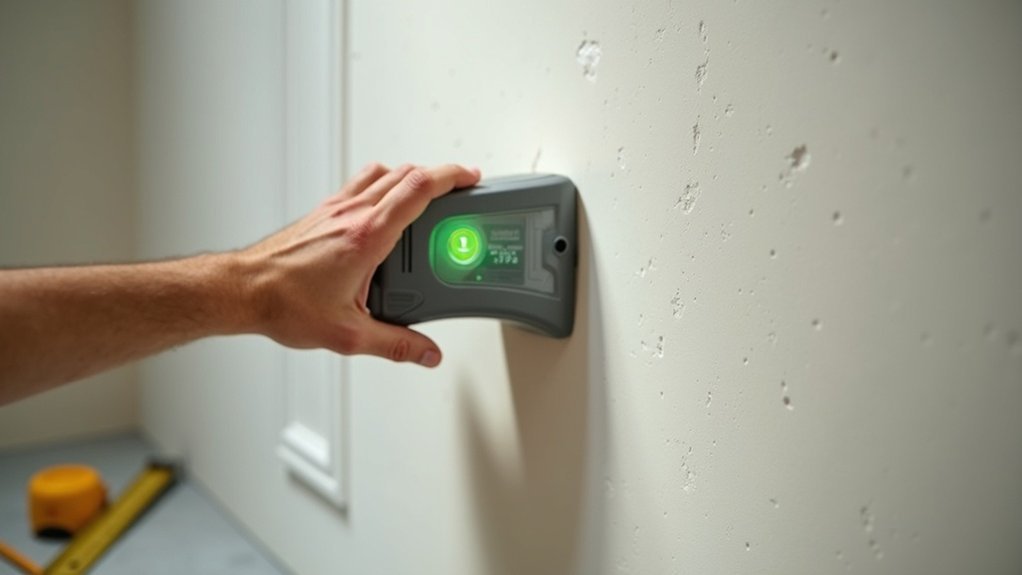
- Employ specialized tools like electronic stud finders or StudPop for enhanced accuracy in locating studs behind drywall, making it easier to safely hang mirrors or shelves for your workout space.
- Create small exploratory holes if needed to confirm stud locations, minimizing wall damage while ensuring that your gym equipment is properly anchored for safety during your workouts.
Understanding Studs and Their Importance
Studs play an essential role in the structure of your home gym walls, providing the vertical framework that supports everything from shelves for your workout gear to heavy equipment like wall-mounted racks.
Typically, stud spacing is either 16 or 24 inches apart, which allows for secure mounting of fixtures like mirrors and storage solutions. Knowing where these studs are is crucial for safely hanging items; attaching them directly to drywall can lead to accidents or damage, especially when it comes to your valuable exercise equipment.
Most studs are made of wood, offering a solid anchor point for screws and ensuring your gear stays securely in place. Electrical boxes often indicate stud locations, serving as reliable reference points for your installations.
Accurate detection of studs not only helps in setting up your home gym safely but also prevents unnecessary wall damage during renovations or upgrades to your workout space.
Measuring Techniques for Stud Locations
To effectively locate studs behind drywall for mounting home gym equipment, start by measuring from a corner or reference point, keeping in mind that standard stud spacing is usually 16 inches on center.
Mark potential stud locations at these intervals, and consider measuring 3-4 inches from electrical outlets to find the adjacent studs, which can be useful for placing equipment like wall-mounted racks or mirrors.
Creating a grid of these marked points will help you visualize potential stud lines, making it easier to confirm their presence with simple tapping or a magnet.
This will ensure that your home gym setup is secure and safe for your fitness routine.
Standard Stud Spacing Guide
Finding the right spots for mounting your home gym equipment can be straightforward when you know the standard stud spacing techniques. Typically, residential studs are spaced 16 inches on center.
Start measuring from a known reference point, like a corner or an electrical outlet, which usually indicates the side of a stud. Mark potential stud locations at 16-inch intervals to ensure a secure installation for your equipment.
In some cases, especially in older homes, studs may be 24 inches apart, so it’s important to verify your specific spacing. After marking, tap the wall or use a stud finder to confirm the locations.
This grid helps you accurately find studs, ensuring that your home gym is safely and effectively set up for your fitness journey.
Measuring From Known Points
When you’re ready to install home gym equipment on your walls, it’s important to locate studs behind the drywall for secure mounting. You can simplify this process by measuring from known points like corners or electrical outlets.
Standard stud spacing is typically 16 inches on center (OC), so mark potential stud locations every 16 inches from your reference point. If you’re measuring from an outlet, check the side of the box to see the stud’s direction since it’s usually mounted to the side.
For older homes, use the 24-inch OC spacing rule. After marking, confirm stud locations by tapping the wall; a solid sound indicates you’ve found a stud.
A stud finder can help ensure that your gym equipment is safely and securely installed, allowing you to focus on your fitness goals at home!
Creating a Potential Grid
Creating a potential grid for locating studs behind drywall can greatly streamline your installation process when setting up your home gym.
Start measuring from known points like corners or light switches, marking every 16-inch interval with a straight edge. This visual guide helps you see where potential studs might be for mounting gym equipment securely.
If you suspect irregular spacing, switch to measuring 24 inches on center. Use light pencil marks or small dots to indicate where you’ve checked for studs, keeping your reference clear.
This organized approach not only saves time but also enhances accuracy as you prepare to confirm stud locations before installing your home gym equipment, ensuring a safe and effective workout space for your fitness journey.
Utilizing Electrical Boxes as Reference Points
When you’re setting up a home gym, it’s important to ensure that your equipment is securely mounted and positioned.
Electrical boxes can be your best allies in this process. They’re typically installed right next to a stud, so you can measure 16 inches from the box to locate the next stud for mounting your shelves or wall units.
Just remember to turn off the power before removing any switch plate covers if you need to access them, ensuring a safe and effective workout environment.
Locate Outlet Studs
Have you ever wondered how to efficiently find studs behind drywall while setting up your home gym?
Locating studs is crucial for securely mounting gym equipment. Here’s how to locate outlet studs effectively for your fitness setup:
- First, ensure safety by turning off the power at the breaker before removing the outlet cover.
- Measure 16 inches horizontally from the electrical box; this is the standard stud spacing, which helps in identifying where to anchor your weight racks or wall-mounted accessories.
- Look for visible screws or nails on the back of the outlet box, as they often indicate the stud’s position and can guide you in securing your gym equipment.
For even greater accuracy, consider using a strong magnet to locate screws or nails that are securing the drywall.
This way, you can ensure your home gym is safe and stable!
Measure Spacing Accurately
Finding the right support for your home gym equipment starts with accurately locating outlet studs. A helpful tip is that electrical boxes are usually mounted directly to a stud, serving as a reliable reference point.
To find the next stud, measure 16 inches from the side of the box, as standard spacing is typically 16 inches on center. If the box isn’t aligned with a stud, this might indicate non-standard spacing, so be sure to measure from the box to locate the nearest stud accurately.
Always remember to turn off the power at the breaker before removing the switch plate to ensure your safety and avoid electric shock while working on your home gym setup.
Traditional Knocking Method for Stud Detection
One effective way to find studs behind drywall, which can be useful when setting up your home gym, is by using the traditional knocking method. This technique involves tapping the wall with your knuckles to differentiate between hollow and solid sounds, ensuring that your gym equipment is securely mounted.
Here’s how to do it effectively:
- Start at one end of the wall and knock at regular intervals.
- Listen for the change in sound: a dull thud indicates a stud, while a hollow sound suggests empty space.
- Knock in a consistent horizontal pattern for clearer differentiation.
This method requires patience but serves as a reliable alternative to electronic stud finders, especially on textured surfaces.
Knowing where the studs are is crucial when hanging items like heavy mirrors or shelves for your workout gear, contributing to a safer and more organized home gym environment.
Using Magnets for Accurate Stud Finding
Using magnets can be a straightforward and effective method for finding studs behind drywall while setting up your home gym, particularly when you want to avoid damaging your walls.
Start by attaching a high-powered magnet to a string or dental floss, then slowly move it across the wall, watching for it to stick where metal fasteners are located. If you don’t detect studs on one side, adjust the magnet’s position vertically since nails or screws can be at different heights.
This non-intrusive approach minimizes wall damage, making it a smart choice for hanging gym equipment like mirrors or shelves. For even better results, consider using specialized tools like the StudPop that enhance magnetic detection, ensuring your workout space is both functional and aesthetically pleasing.
Exploring Metal Detectors for Stud Identification
Finding studs behind drywall can be made easier with the help of metal detectors, which adeptly sense the presence of metal fasteners like nails and screws.
These tools are strong enough to detect:
- Nails and screws in the studs where you might want to hang gym equipment
- Recessed pipes and electrical wiring that could affect your home gym setup
- Other buried metal objects that may interfere with your workout space
To improve accuracy, adjust the sensitivity settings to minimize interference.
Keep in mind that the effectiveness of metal detectors can vary depending on drywall thickness and wall material density.
While versatile, be cautious of false positives from unrelated metal objects, ensuring you identify studs accurately before drilling or mounting equipment for your home gym.
This way, you can create a safe and effective exercise environment.
Troubleshooting Common Issues With Stud Finding
Even with advanced tools like metal detectors, you might encounter challenges when trying to find studs behind drywall, especially when setting up your home gym.
If your stud finder gives inconsistent readings, start by checking the battery. Electrical interference can skew results, so it’s a good idea to test it on various walls in your workout space.
Check your stud finder’s battery if readings are inconsistent, and test it on different walls to avoid electrical interference.
Textured surfaces or multiple paint layers can also hinder performance, making it essential to be prepared with manual methods. If your stud finder struggles, consider using a magnet or metal detector as alternatives for securing gym equipment.
Remember to move slowly; the sound will change when you pass over a stud, improving your chances of accurate detection, particularly in areas where studs aren’t evenly spaced, ensuring that your gym equipment is safely mounted.
Tips for Minimizing Wall Damage While Locating Studs
While you’re excited to set up your home gym, it’s important to minimize wall damage during the process of locating studs. Here are some helpful tips to ensure a smooth installation:
- Create small exploratory holes for minimal damage, making patching easier later on.
- Consider temporarily removing baseboards to access nails without leaving visible holes in your walls.
- Use a level or plumb bob to ensure your equipment is aligned perfectly after locating the studs.
These simple strategies will help you safely and effectively mount your gym equipment while keeping your walls in great condition.


